Here is part 3 of our blue bathroom re-do. Please do read the other parts here:
Part 1 Part 2.
It probably took as long to do the little stuff as the big stuff! If you've been following along, then join us on the home stretch!
The Sink Area
We now had a nice refinished sink top but nothing to put it in...
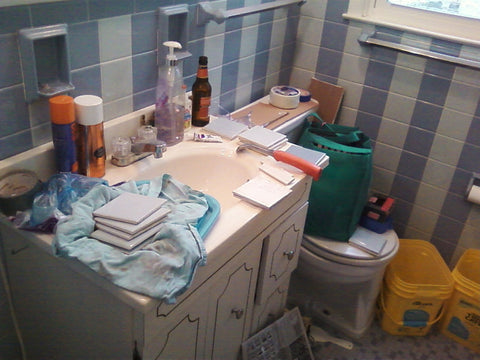
Here is the old console (and toilet.) Notice the huge space on the left of the console sink....
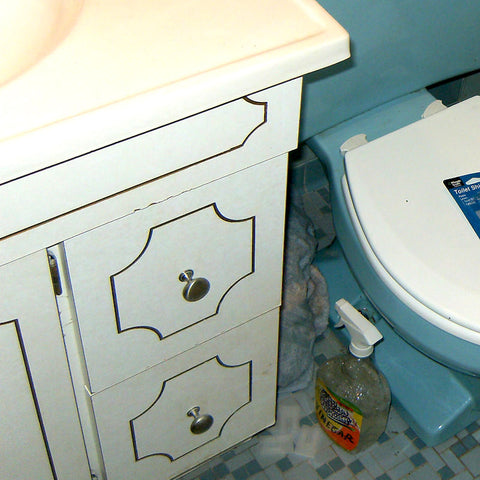
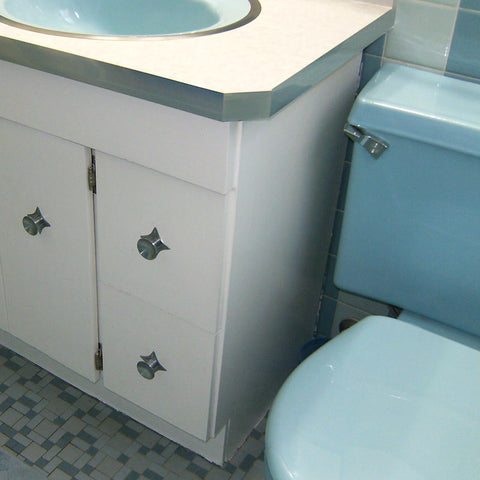
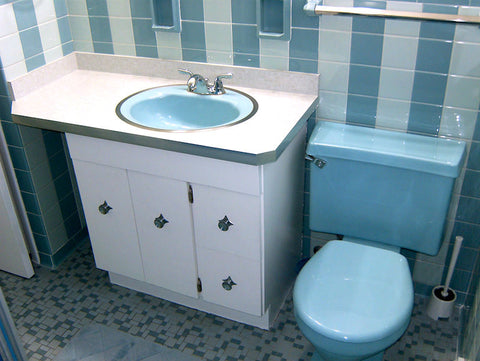
We decided to slavage the 60-70s era console by filling in the detail, repainting it, and replacing the knobs with atomic style ones. Here is the before shot... read on to see the after!
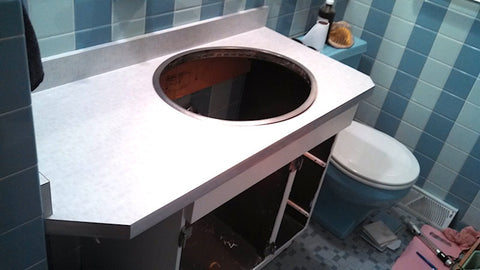
We found a local handyman to custom make the counter top--this allowed us to make the counter bigger than a standard size. We extended the counter to the left wall, creating lots more countertop space! The edge of the top was a chrome-like aluminum inlay.
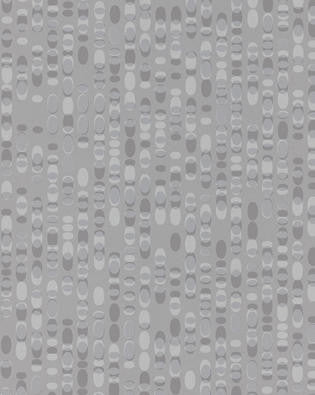
We also used a custom Formica surface. You can order samples from the Formica website – we ended up choosing “Gray Ellipse”.
http://www.formica.com/en/au/products/decorative-laminates-consumer/details?di=AU_AU_FMCONHPLPF_6614
Medicine Cabinet and Lights
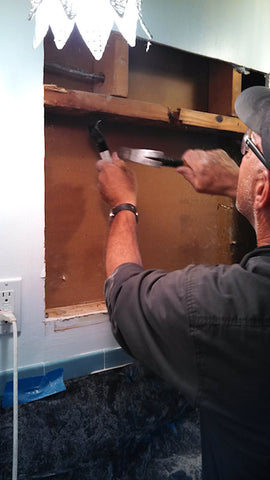
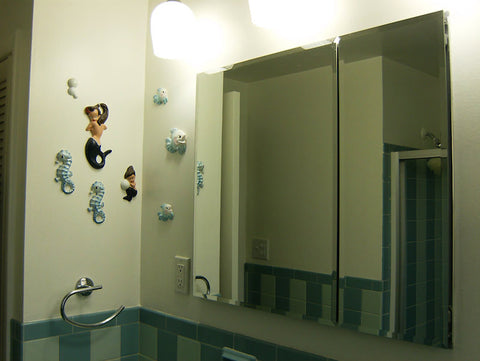
The medicine cabinet (which was vintage 1955) needed too much love to save, so we decided to replace it entirely with a larger, inset version.
We had to cut out several 2x4s and still it just barely fit but looks nice. The larger inset mirror really makes the room seem larger, which was an unexpected benefit.

For better lighting we replaced the lights with new hanging lights with daylight temperature fluorescent bulbs throw a lot of nice light without getting hot.
Ventallation and Heat Lamp
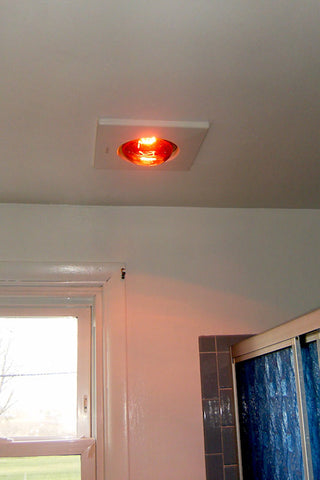
To help prevent the mold/dampness issues from returning we also installed a ceiling vent fan with heat lamp.
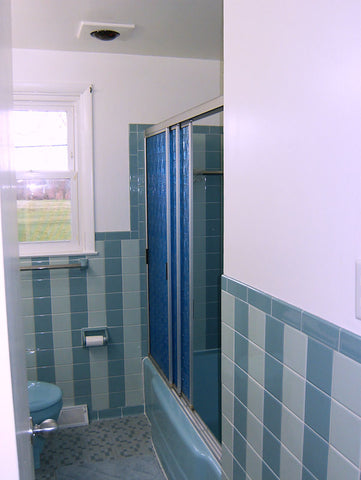
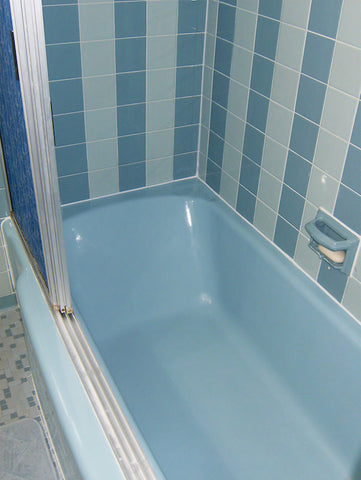
Final photos
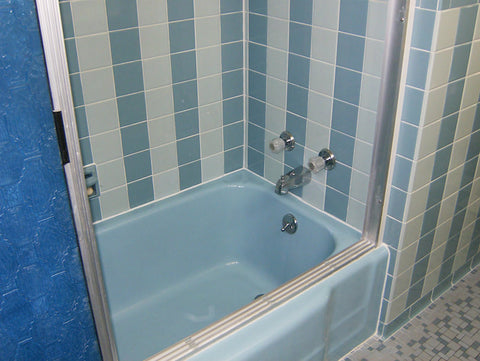
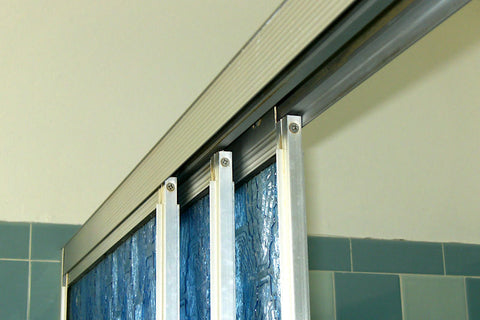
Months (and months) later we were finally finished with our blue vintage bathroom re-do!
Final Toughts
The project took quite a bit longer than we hoped, but only cost about $1300.
Are we glad we did it? Yes.
Would I have done it again? Not the same way, that's for sure... I learned so much on this project (hate caulking and drywall finishing) that the next one should be a breeze!
Next project, our OTHER bathroom will get tiki-fied!
~Andrew
This is part 3 of our blue bathroom re-do. Please do read the other parts here:
Part 1 Part 2.
Reference
Fomica laminate:
http://www.formica.com/en/au/products/decorative-laminates-consumer/details?di=AU_AU_FMCONHPLPF_6614
Decorative mermaids by Barbie K
http://shop.catslikeus.com/collections/barbie-k

