Hair Danna's are a great alternative to a plain ol' bandana. These cute creations by Lil' Darlin' Accessories aren't just for those bad hair days anymore! The Hair Danna's are a versatile accessory that can be paired with any look from; a casual t-shirt and jean outfit for a car show, or paired with a sexy black wiggle dress for a hot date. They're also a great way to hide those roots while in between salon visits. *Wink*
Julie Ann gave me an awesome compliment on my bandana wearing skills, she said to me, “Your hair always looks so good in a bandana, I never know what to do with my hair”. Of course I was flattered as wearing headbands, bandanas and hair scarves are second nature to me (when you've had as many bad hair cuts as I have, you learn!). I wanted to give the Cats Like Us cuties (hey that's YOU) a few suggestive styling ideas, as the store just got in a fresh shipment of the Hair Danna's. These babies are hot, grab them while you can!
And we're off! Caution: Dangerous Locks Ahead
Supplies you will need:
- Comb or brush
- Hair elastic
- Bobby pins
- Hair combs (recommend not required)
- Hair spray
- Hot rollers or curling iron
- Hair Danna
First look: Modified Ponytail
My lovely model Julie Ann has shoulder length hair with long layers and bangs.

Step 1-Gather hair into high ponytail.
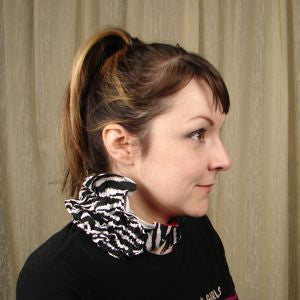
Step 2-Taking hair elastic pull hair through to secure. On the last twist of the elastic band, do not pull hair all the way through, this will floppy bun-like shape (like a folded ponytail).
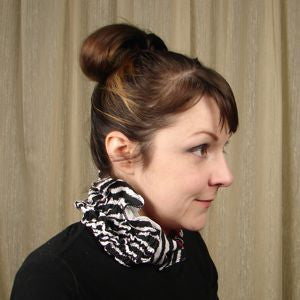
Step 3- Tighten the hair and arrange into a fan-like shape. If you have heavy or very long hair, use some bobby pins to secure the hair.
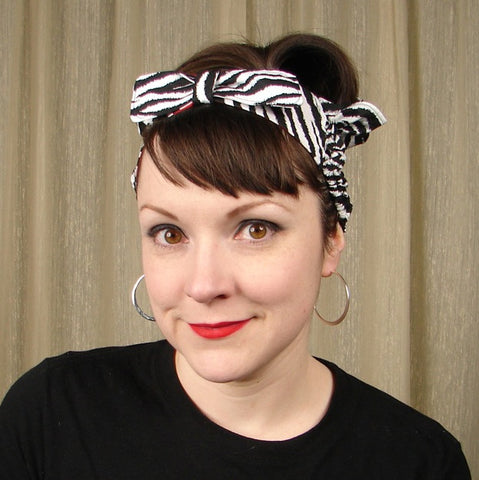
Step 4-Put on the Hair Danna and tuck any loose hairs. Voila! Easy!
Julie Ann is wearing the Rockin Zebra Hair Danna by Lil' Darlin' Accessories.
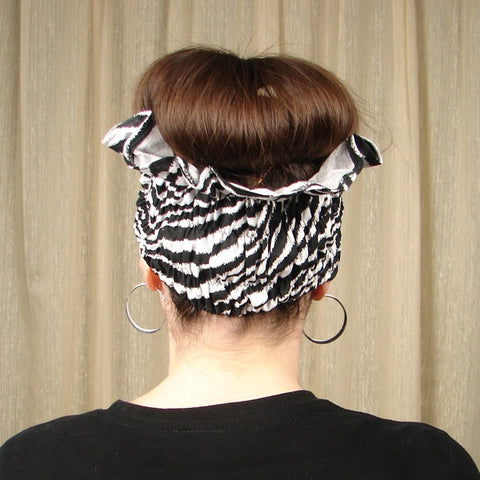
*Tip-Put the Hair Danna over your head before styling and let it rest around your neck. This will help to prevent pulling the elastic Hair Danna over your head and ruining your finished look!
Second Look: Rosie the Riveter
Step 1-Curl your whole head with hot rolls, curling iron, whatever tool you use to create curls.
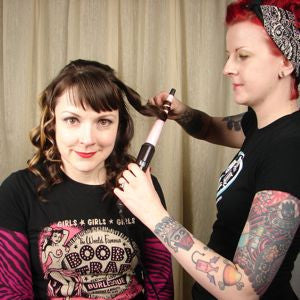
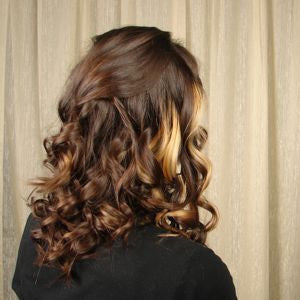
Step 2-Gently brush out curls into soft wavys. If you hair gets frizzy, use a drop or two of smoothing cream to tame your tresses.
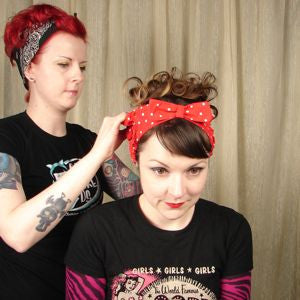
Step 3-The object is to get all your hair on top of your head. You're going to loosely twist the hair up (like a French twist) to the top of the head, leaving the hair's ends loose. (I sectioned Julie Ann's hair into four sections for a fuller look.) Secure with bobby pins or hair combs.
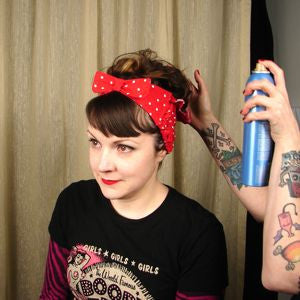
Step 4-Pull up the Hair Danna and arrange the curls. Use hair spray and bobby pins to secure.
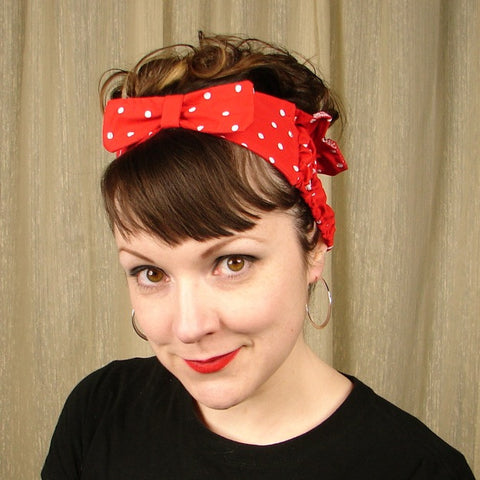
Step 5-Pose like Rosie the Riveter in the mirror. Don't forgot to blow your cute self a kiss after you've put on your red lipstick!
Julie Ann is wearing the Red and White Polka Dot Danna by Lil' Darlin' Accessories.

*Tip-There is no right or wrong way to arrange the curls, just arrange them to cover your bobby pins.
Folding a regular bandana
Since yours truly is wearing a regular bandana in the photos, I'll give you a quick run down on how I fold mine. (OH NO, MORE PICTURES!!! Dun, dun, dunnnn!)
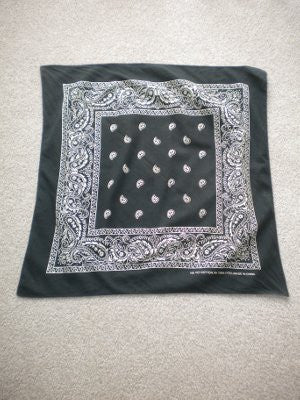
Step 1-Lay bandana on a flat surface.
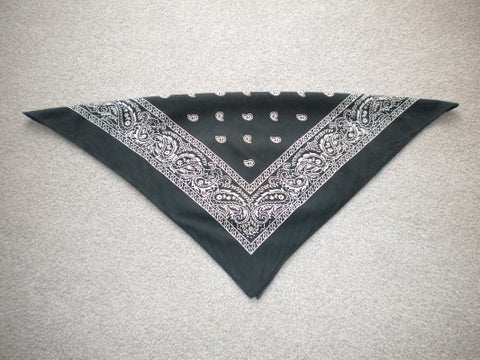
Step 2-Fold in half, corner to corner to make a triangle.
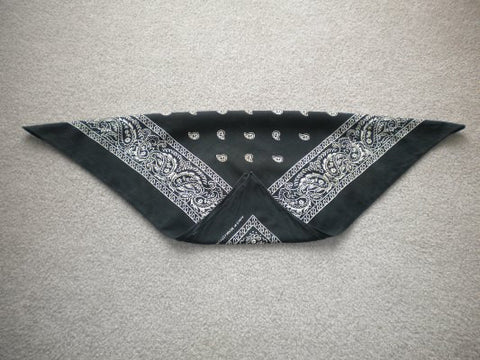
Step 3-Fold the bottom point half way up the triangle.
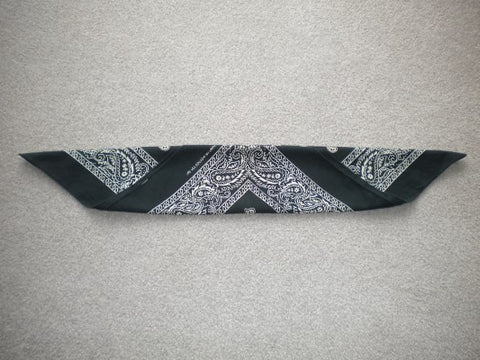
Step 4-Fold up again as the band width should then be between 4-5 inches, depending on your preference.
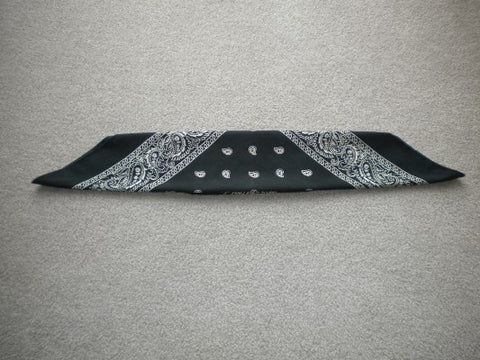
Step 5-Flip it over as the folded parts will face in when you place the bandana on your head. The back should look as pictured, a nice smooth look. Tie around your hair and tie the bandana knot in the middle, to the side, which ever your prefer!
Happy Bandana-ing! *Wink*
XOXO
-Meagan Kyla
